Ginger, with its aromatic flavor and numerous health benefits, is a versatile herb that adds depth and zest to a wide range of culinary creations. Growing your own ginger at home allows you to experience the unbeatable freshness and superior taste that homegrown ginger offers. In this comprehensive guide, we will take you through the step-by-step process of planting, growing, and harvesting ginger, enabling you to enjoy the satisfaction of cultivating this remarkable herb right in your own backyard.
Section 1: Understanding Ginger
About Ginger
Ginger, scientifically known as Zingiber officinale, is a flowering plant native to tropical regions. It boasts a long history of use in both culinary and medicinal practices. The rhizome, commonly referred to as ginger root, is the part of the plant that is harvested and used for various purposes. Ginger is an herbaceous perennial that thrives in USDA zones 9 to 11, provided temperatures do not drop below 32°F (0°C). However, even those in non-equatorial regions can successfully grow ginger in containers or by digging up the rhizomes before frost.
Characteristics of Ginger
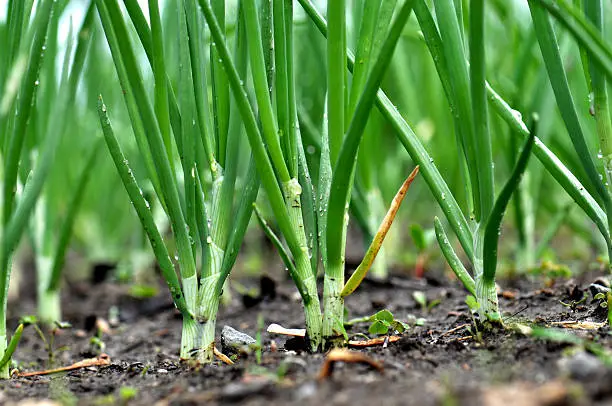
Ginger plants are visually striking, with their tall stalks resembling thick-stemmed grass and beautiful pale yellow flowers with purple edges. The rhizome clump typically reaches a height of 3 to 4 feet and spreads 1 to 2 feet wide. The underground rhizomes are the most commonly used part of the plant, known for their intense flavor and aroma. Homegrown ginger tends to be thinner-skinned and more flavorful than store-bought varieties, eliminating the need for peeling before use. However, it’s important to note that homegrown ginger has a shorter shelf life and should be properly preserved.
Historical Significance
Ginger has a rich historical significance, dating back thousands of years. It was traded at great expense along the Silk Road during the Middle Ages and was even worth as much as a whole sheep in the 14th century. Interestingly, ginger was the first foreign spice to be grown in the “New World” when it was introduced in 1585.
Section 2: Planting Ginger
Creating the Ideal Growing Conditions
To successfully grow ginger, it’s essential to replicate its natural tropical habitat as closely as possible. Here are some key factors to consider:
- Sun Exposure: Ginger thrives in partial sun, which means it requires a few hours of direct sunlight each day, along with some shade during the hottest parts of the day.
- Soil pH: Ginger prefers slightly acidic to neutral soil, with a pH range of 6.0 to 7.0 being optimal for its growth and development.
- Temperature: Ginger flourishes in warm temperatures ranging from 70°F to 90°F (21°C to 32°C). Protect the plants from strong winds and ensure they are shielded from temperatures below 32°F (0°C), as ginger is not frost-tolerant.
- Moisture: Ginger requires consistent moisture but should not be exposed to standing water or allowed to completely dry out. Ensure the soil is well-draining to prevent root rot.
To create an ideal growing environment for ginger, consider planting it in a greenhouse, hoop house, or large containers that can be moved to suitable locations depending on the season and climate.
Planting Methods
Ginger can be grown either from rhizomes or pre-sprouted plants. Here’s a breakdown of each method:
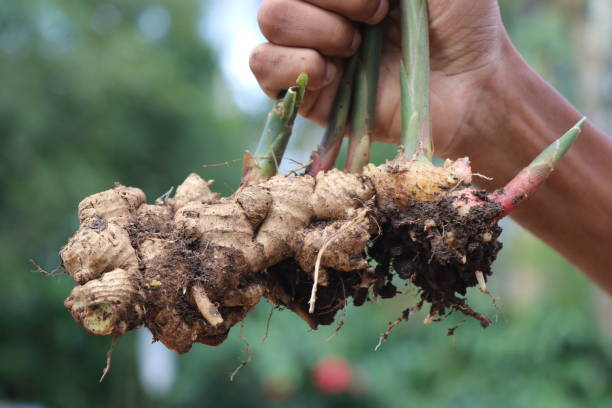
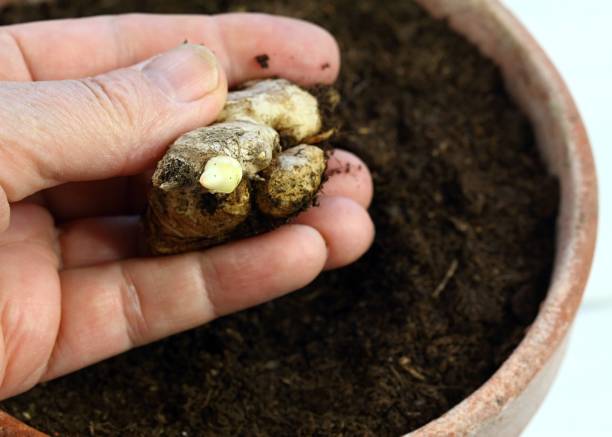
- Rhizomes: Ginger rhizomes are the thick, knobby structures that serve as the plant’s storage organ. When planting from rhizomes, select firm and plump rhizomes without any signs of shriveling or mold. Opt for larger rhizomes with multiple buds for faster growth and higher yields.
- Pre-Sprouted Plants: To expedite the growth process, you can pre-sprout ginger indoors before transplanting it outside. Begin by placing ginger rhizomes with buds facing up on a tray filled with moist compost. Cover them with a thin layer of compost and keep them in a warm, well-lit area. Once the sprouts emerge, transfer them to individual containers until they are ready to be planted outdoors.
Planting Techniques
Follow these steps to plant your ginger using the selected method:
- Preparing the Soil: Prior to planting, ensure the soil is rich in organic matter by incorporating compost or well-rotted manure. This provides the necessary nutrients for your ginger plants.
- Planting from Rhizomes: Dig a trench that is approximately 6 inches deep. Place the ginger rhizomes with the buds facing up in the trench, spacing them about 8-12 inches apart. Cover the rhizomes with about an inch of soil.
- Planting Pre-Sprouted Plants: Harden off the pre-sprouted ginger plants by gradually exposing them to outdoor conditions over a period of 1-2 weeks. Once hardened off, plant them in a trench similar to the rhizomes, ensuring the original rhizome is planted 2-3 inches deep.
- Watering and Mulching: After planting, water the ginger plants thoroughly. Maintain consistent moisture in the soil by watering regularly, especially during dry periods. Apply a layer of mulch around the plants to suppress weeds, retain moisture, and promote healthy soil conditions.
Section 3: Caring for Ginger Plants
To ensure optimal growth and productivity, it’s crucial to provide proper care for your ginger plants. Here are some essential aspects to consider:
- Watering: Ginger plants require regular watering to keep the soil evenly moist. Avoid overwatering, as soggy soil can lead to root rot. Implement irrigation systems if necessary, as ginger enjoys more water compared to many other garden plants. However, be cautious not to leave ginger plants in sopping wet soil for prolonged periods.
- Fertilization: Prior to planting, incorporate organic fertilizers or compost into the soil. Throughout the growing season, periodically supplement the plants with organic fertilizers or worm castings to ensure they receive essential nutrients. This promotes robust growth and healthy rhizome development.
- Weeding: Regularly remove weeds from the ginger plant bed to minimize competition for nutrients and water. Carefully hand-pull weeds to avoid damaging the delicate ginger rhizomes.
- Pest and Disease Control: Monitor your ginger plants for common pests such as bacterial wilt. Additionally, watch out for signs of rhizome rot caused by Pythium spp. Promptly address any pest or disease issues to prevent them from spreading to neighboring plants.
Section 4: Harvesting and Storing Ginger
The moment you’ve been eagerly awaiting has arrived—harvesting your ginger! Here’s what you need to know:
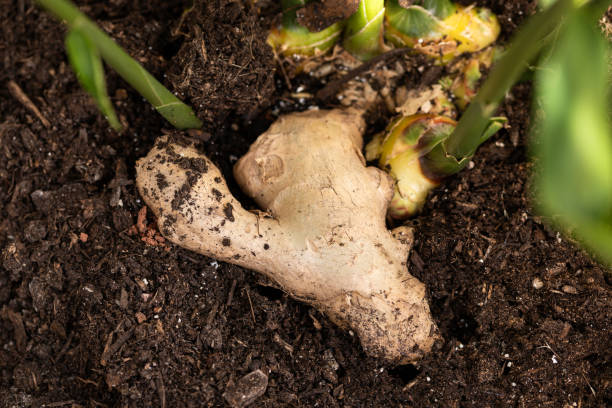
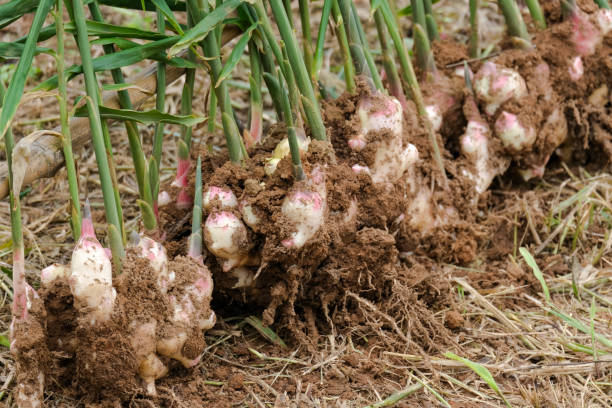
- Harvesting Time: Ginger takes approximately 8 to 10 months to fully mature. However, you can begin harvesting ginger as soon as the rhizomes start to form. Late summer is an optimal time for harvest, as the plants slow down their growth and stop producing new leaves.
- Harvesting Technique: To harvest ginger, gently dig around the base of the plant and lift it, ensuring you remove the entire plant, including the rhizomes. Use a garden fork if necessary to loosen the soil. Once lifted, trim the tops of the plants and wash the ginger rhizomes to remove any dirt.
- Storing Ginger: Store freshly harvested ginger in a paper bag in the refrigerator’s crisper drawer. Avoid storing ginger tightly wrapped in plastic, as this can promote mold growth. Fresh ginger can be stored unpeeled in the fridge for up to 3 weeks or peeled and frozen for up to 6 months.
Conclusion
Congratulations on embarking on the journey of growing your own ginger! By following the steps outlined in this comprehensive guide, you now possess the knowledge and understanding to successfully cultivate ginger right in your own backyard.
Enjoy the incomparable freshness, flavor, and health benefits that homegrown ginger brings to your culinary creations and natural remedies. Embrace the joy of growing this remarkable herb and elevate your gardening experience with the aromatic delights of homegrown ginger.
Please note that the information provided in this guide is intended for informational purposes only. For specific advice regarding the cultivation of ginger in your region, it is recommended to consult a gardening expert or your local extension office.