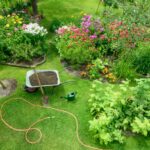
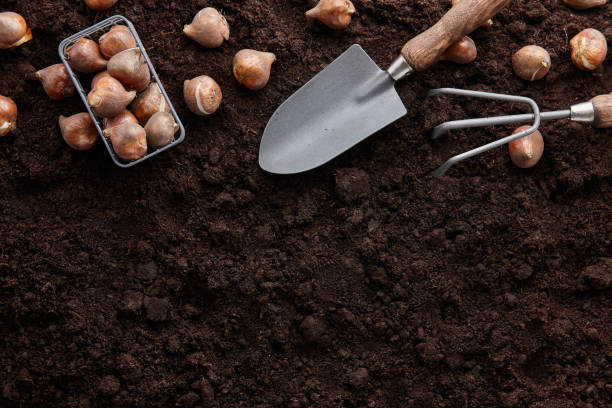
Onions are versatile and flavorful vegetables that can be grown in almost any garden. While there are a few different methods for planting onion bulbs, one key factor to keep in mind is the depth at which you plant them. In this guide, we’ll take a closer look at how deep to plant onion bulbs and offer some tips for successfully growing onions in your garden.
Why Plant Onion Bulbs at the Right Depth?
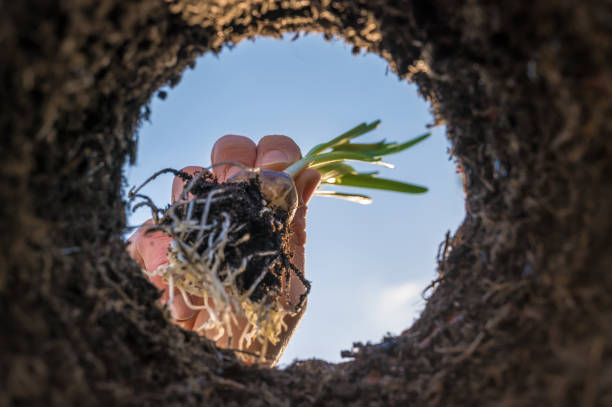
Planting onion bulbs at the right depth is important for several reasons. For one, planting at the proper depth ensures that the roots have enough room to grow and establish themselves in the soil. This is essential for the onion plant to absorb the necessary nutrients and water it needs to grow healthy and strong. Additionally, planting at the proper depth can help protect the bulb from harsh weather conditions and pests that might otherwise damage or uproot the plant. Planting onion bulbs too shallow can cause the roots to dry out or fail to anchor the plant properly, while planting too deep can inhibit the growth of the leaves and stem, leading to a smaller yield of onions. So, planting onion bulbs at the right depth is crucial for the health and success of your onion plants.
How Deep Should You Plant Onion Bulbs?
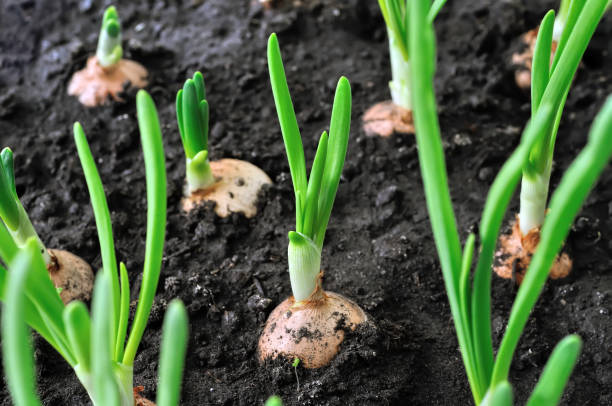
The depth at which onion bulbs should be planted depends on a few factors, including the size of the bulb and the type of soil you’re working with. In general, onion bulbs should be planted about 1 inch deep in loose, well-drained soil. If the soil is heavy or clay-like, however, it’s best to plant the bulbs shallower, at around 1/2 inch deep.
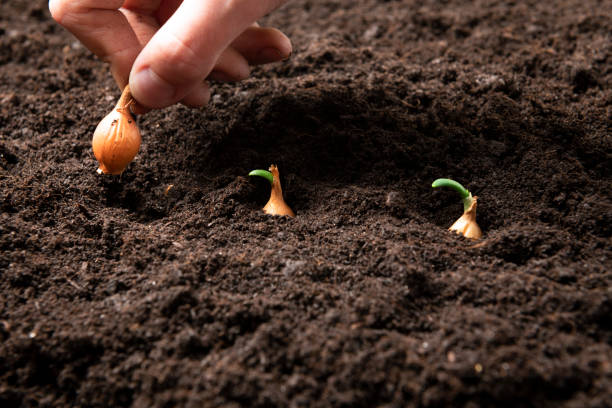
It’s important to note that you should plant the bulb with the pointed end facing up and the root end facing down. This ensures that the roots will grow downward into the soil, while the green sprout will emerge upward toward the sun.
Planting onion bulbs at the proper depth will give the roots enough space to establish themselves and allow the leaves and stem to grow properly, which is necessary for the onion plant to produce healthy and flavorful bulbs.
Tips for Planting Onions
Here are a few additional tips to keep in mind when planting onion bulbs:
Amend the Soil
Before planting onion bulbs, it’s a good idea to amend the soil with organic matter such as compost or well-rotted manure. Here are a few reasons why:
- Improves soil structure: Amending the soil with organic matter helps improve the soil structure by increasing the amount of pore space in the soil. This, in turn, helps with water retention and aeration, which is important for the health and growth of the onion plants.
- Provides nutrients: Organic matter provides essential nutrients for the onion bulbs to grow properly. These nutrients include nitrogen, phosphorus, and potassium, which are essential for healthy growth and development.
- Increases water retention: Amending the soil with organic matter helps increase the soil’s ability to hold onto water, which is important for the health of the onion plants. This is especially important during dry periods when water is scarce.
- Boosts soil fertility: Organic matter helps increase the soil’s fertility by increasing the amount of microorganisms in the soil. These microorganisms break down organic matter and release nutrients into the soil, which the onion plants can then absorb.
The amount of organic matter needed depends on the condition of the soil in your garden. Adding too much organic matter can cause the soil to become too rich, which can lead to the development of root rot or fungal diseases. It’s recommended to add no more than 1 to 2 inches of organic matter per season, working it into the top 6 inches of soil before planting onion bulbs.
To amend the soil:
- Test the soil: Before amending the soil, it’s a good idea to test the soil to determine its pH level and nutrient content. This will help you determine how much organic matter to add to the soil.
- Choose the right organic matter: There are several types of organic matter that you can use to amend the soil, including compost, well-rotted manure, and leaf mold. Choose an organic matter that is readily available in your area and that has a balanced nutrient content.
- Work the organic matter into the soil: Spread the organic matter evenly over the surface of the soil and work it into the top 6 inches of soil using a garden fork or hoe. Avoid compacting the soil while working in the organic matter.
- Allow the soil to rest: After working in the organic matter, allow the soil to rest for a few days before planting onion bulbs. This will allow the soil to settle and the nutrients to distribute evenly.
By amending the soil with organic matter, you can provide the onion bulbs with the nutrients they need to grow properly and ensure the health of your onion plants.
Space the Bulbs Correctly
Spacing onion bulbs correctly is important for the health and growth of plants. Here are a few tips on how to space the bulbs correctly:
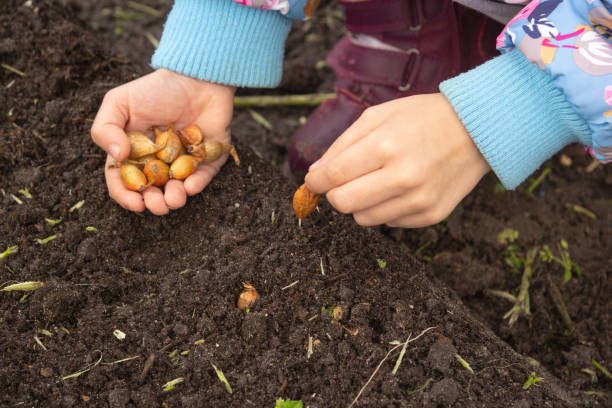
- Determine the size of your onion bulbs: The size of your onion bulbs will determine how much space you need to leave between them. Large bulbs will require more space than smaller bulbs.
- Plan your rows: Plan your rows based on the size of your garden and the number of onion bulbs you want to plant. Rows should be 12-18 inches apart to allow for adequate air circulation and to help prevent the spread of diseases.
- Determine the spacing between bulbs: Onion bulbs should be spaced about 4-6 inches apart within the rows. This allows enough space for the bulbs to grow and develop properly.
- Use a measuring tool: To ensure even spacing between the bulbs, use a measuring tool such as a ruler or yardstick. Lay the measuring tool across the row, and then place each bulb at the desired distance from the last one.
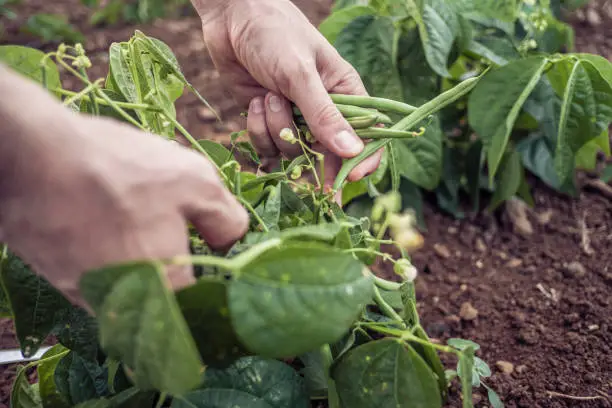
- Plant the bulbs: Once you have determined the spacing, it’s time to plant the bulbs. Place each bulb in the soil with the pointed end facing up and the root end facing down. Gently press the soil around the bulb to ensure it is secure in the soil.
- Water the bulbs: After planting the bulbs, water them thoroughly to help settle the soil and provide them with the moisture they need to grow.
By following these tips on how to space onion bulbs correctly, you can help ensure the health and productivity of your onion plants. Proper spacing allows for good air circulation and helps prevent the spread of diseases, while also ensuring that each bulb has enough space to grow and develop properly.
Water Properly
Proper watering is essential for the health and growth of onion plants. Here are some tips on how to water onion plants properly:
- Water frequency: Onion plants need regular water to grow and produce healthy bulbs. Water the plants deeply once or twice a week, depending on weather conditions. Avoid overwatering, as this can lead to root rot and other issues.
- Amount of water: Give onion plants at least 1 inch of water per week. This can be measured using a rain gauge or by placing a shallow dish in the garden to collect water. If you live in an area with high temperatures and low humidity, you may need to water more frequently.
- Timing: Water early in the morning or in the evening, when the temperatures are cooler and the sun is less intense. This helps prevent water evaporation and allows the plants to absorb the water more efficiently. Avoid watering during the hottest part of the day, as this can lead to water loss through evaporation.
- Method of watering: Water at the base of the plant, directly onto the soil, using a soaker hose or watering can. Avoid getting the foliage wet, as this can lead to the development of fungal diseases. A soaker hose is a good option as it delivers water directly to the roots and helps prevent water loss through evaporation.
- Signs of overwatering: Be careful not to overwater onion plants, as this can lead to yellowing leaves, slow growth, wilting, and root rot. These signs indicate that the plant is getting too much water and may need to be watered less frequently.
By following these tips on how to water onion plants properly, you can help ensure the health and productivity of your onion plants. With regular, deep watering and proper timing, your onion plants will grow healthy and strong, producing flavorful and nutritious bulbs.
Fertilize as Needed
Fertilizing onion plants is an important step in ensuring their growth and productivity. Before fertilizing, it’s recommended to test the soil to determine its nutrient content and pH level. Based on the results of the soil test, you can choose the appropriate fertilizer for your onion plants.
Onion plants require a balanced fertilizer or one that is high in nitrogen, which is essential for their growth and development. It’s important to fertilize onion plants regularly, especially during the early stages of growth. Generally, onion plants should be fertilized every 3-4 weeks throughout the growing season. By following these tips for fertilizing onion plants, you can help ensure their health and productivity, producing flavorful and nutritious bulbs.
Conclusion
Planting onion bulbs at the proper depth is crucial for their growth and overall health. By following the tips and guidelines outlined above, you can ensure that your onion plants have the best chance of producing healthy, flavorful bulbs. With a little care and attention, you’ll soon be enjoying fresh onions straight from your own garden.